Getting Started
Introduction
Section titled “Introduction”PhotoImport is designed to allow access to photographs stored on digital cameras and image cards from an iPhone or iPad.
The photographs can be viewed full screen, culled and exported to other applications directly from the camera or card.
Optionally the application can be used to backup image files to USB connected storage devices.
1. Preparing to access photographs from a digital camera
Section titled “1. Preparing to access photographs from a digital camera”Digital cameras should be configured in USB card reader mode, connected to the iPad/iPhone by USB cable and turned on.
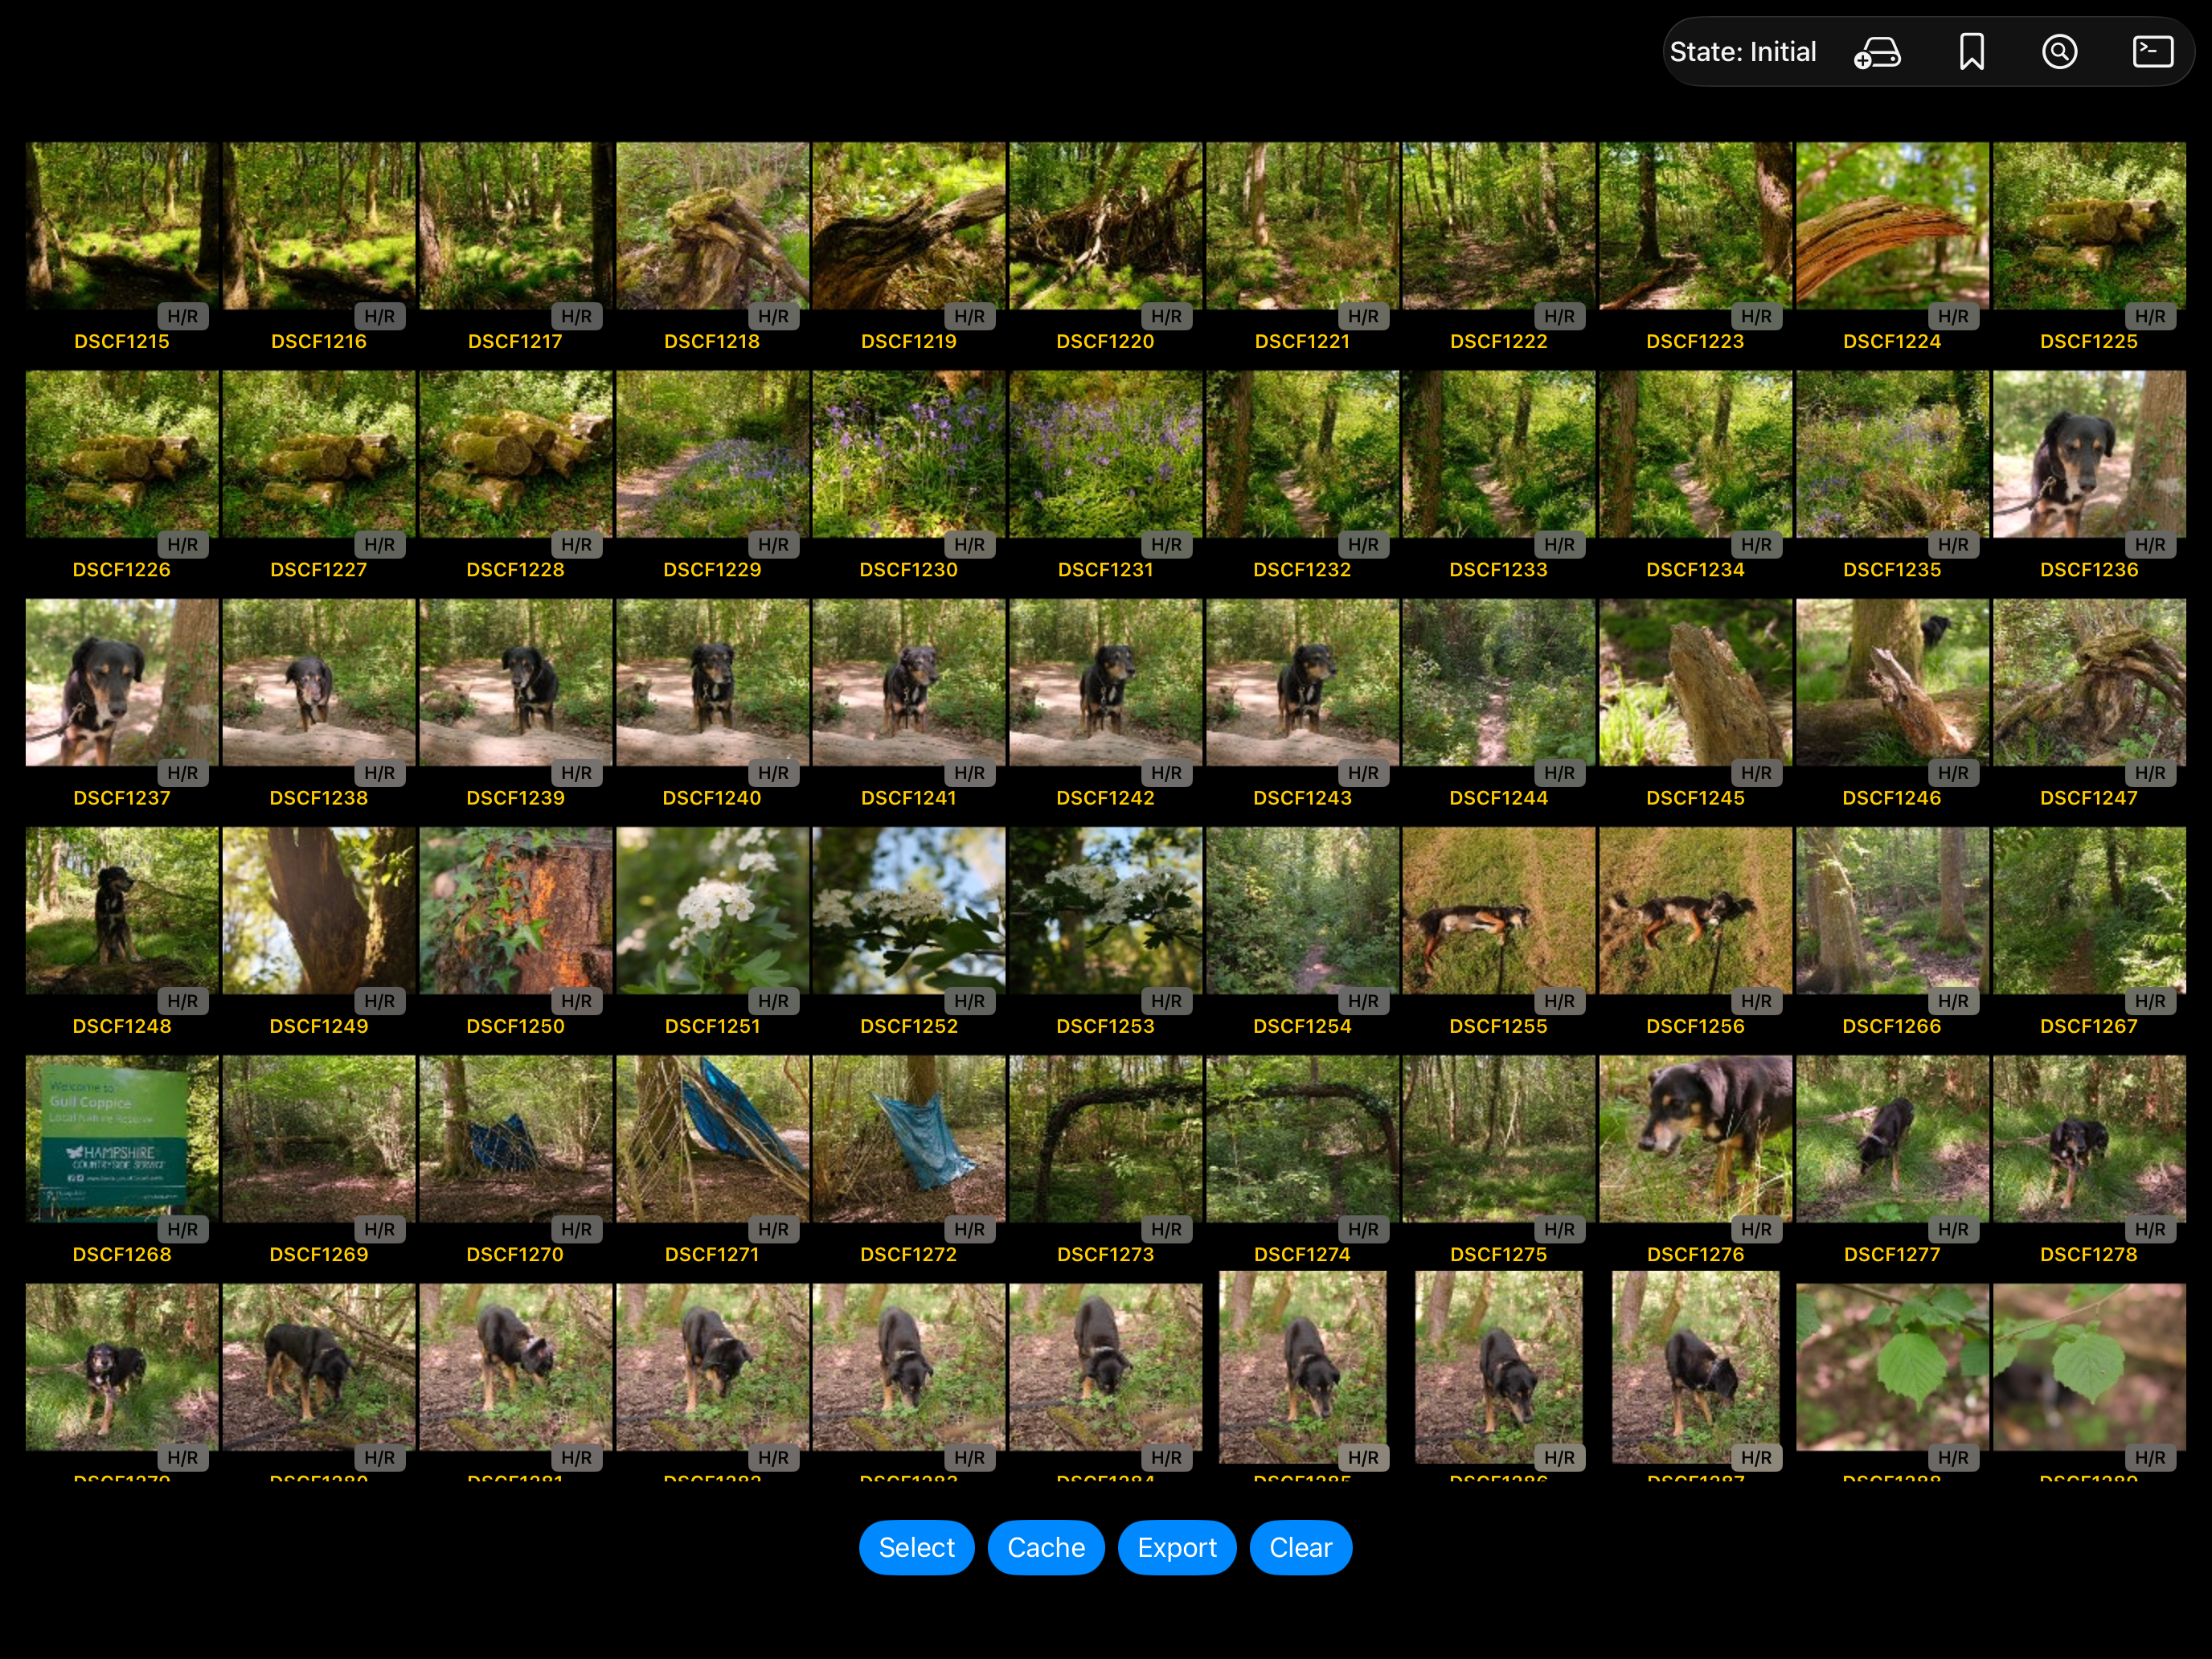
The camera will be automatically detected by the application and image thumbnails extracted and displayed in grid format.
At this point the images can be viewed full screen, selectively exported to other applications or backed up.
2. Preparing to access photographs from image cards
Section titled “2. Preparing to access photographs from image cards”The first time the application is used to read an image card, the card must be registered.
The card should have been formatted in the camera and have a few photos on it.
Connect the card reader to the iPad/iPhone via USB.
The application will walk you through the registration process.
Make sure to choose Image Card rather than Backup SSD during registration.
Registering an image card
Section titled “Registering an image card”The following video shows the registration process:
Once the card has been registered it will be recognized whenever it is attached to the application.
3. Preparing to access photographs from image cards (32GB or larger)
Section titled “3. Preparing to access photographs from image cards (32GB or larger)”Many cameras format cards of 32GB or smaller (those that use the FAT32 file system) in a way in which they cannot be registered.
These cards can still be read but each time they are plugged into the application the “Registration” pop-up appears and the “Read without registering” option should be taken.
Reading these cards is a slower process than when reading registered cards but the capabilities are the same.
4. Preparing to backup image files
Section titled “4. Preparing to backup image files”The application automates the process of backing up image files from either camera or card.
Given that iPhones and iPads have only a single USB port the backup process requires either that a suitable adapter or hub is used or that the camera/card is switched to the backup device during the backup process.
The application makes the workflow as easy as possible to backup files without using a separate adapter or hub.
First the backup device must be registered.
Take a suitable SSD - preferably empty - and attach to the iPad/iPhone via a USB cable.
The backup device has two folders written during the reqgistration process - if they are removed then the device must be registered again:
-
DCIM folder holds a backup directory
-
BACKUP folder holds the backups. Each backup is stored in a subfolder whose name is the timestamp of the backup process (YYYYMMMDD-HHMMSS format).
In order to backup the contents of a card or camera take the following steps:
-
connect the card or camera to the application and wait for the thumbnail grid to be constructed
-
touch the “Cache” button which will store the image files locally on iPad or iPhone
-
once complete disconnect the card/camera and replace with the previously registered backup SSD
-
the SSD will be recognized - the state at top of the screen changes to “BackupReady”
-
touch the “Backup” button at the bottom of the screen and wait while the cached image files are copied to the backup device
System Requirements
Section titled “System Requirements”This application runs on either an iPhone or iPad - while there are no specific hardware requirements it will be most useful when:
- the screen is large (images can be more easily reviewed)
- there is lots of storage (image files can be temporarily cached when being backed up to avoid the use of external hubs)
- the USB port allows fast access (the faster the access the less time it will take to extract and copy image files)
- using an iPhone gives the best mobility while using a large recent iPad Pro makes it easier to review images on a large screen
Operating system must be a minimum of iOS or iPadOS Tahoe (version 26)
Quick Installation
Section titled “Quick Installation”The application is available via the Apple TestFlight application for those who have been invited.
The application may ask for various permissions including:
-
“PhotoImport” would like to add to your Photos (This allows the application to export images from the card or camera to the Photos application on the iPad or iPhone)
-
“PhotoImport” would like to Send you Notifications (Accepting this means you get an audible notification whenever images have been cached or exported - this can be useful when processing large numbers of files but can also be annoying and can be turned off in Settings)
The user is also asked to agree to the use of alerts - these are used to indicate that potentially long running processes are complete - approval can be given or denied during installation or by using the Settings app.